Back Control Escape Drills That Work in Live Rounds
Back control escape drills are where a lot of Jiu Jitsu students discover the difference between knowing an escape and being able to use it. You may understand that you need to get your shoulders to the mat, clear the choking arm, and turn into your opponent. That plan changes quickly when someone has a tight seatbelt, hooks in, and enough patience to wait for you to make a mistake.
The goal of drilling is not to make escaping the back look easy. It is to build reliable reactions before the opponent gets their finishing grips settled. Done well, these rounds teach you to protect your neck without panicking, recognize whether you need to fight hands or hips first, and escape without handing over an armbar or mount.
Start With the Defensive Priorities
Before adding resistance, make sure both partners agree on the basic job of the defender. The first priority is always the neck. If your partner has a seatbelt, the choking-side hand is the immediate danger. Keep your chin tucked toward that arm and use two hands when necessary to control their wrist or forearm.
Next, get your shoulders closer to the mat. Staying upright lets the attacker follow your movement, tighten their hooks, and work their choke sequence. Falling to the side opposite the choking arm is usually the safer direction because it puts the choking arm underneath you. From there, you can start using your body weight to weaken the seatbelt.
Finally, address the hooks and turn. A clean back escape is rarely one dramatic movement. It is usually a sequence: protect the neck, land on the safe side, trap or clear a hook, then bring your hips and shoulders around until you face your partner. At white belt, simply reaching a strong side-control or half-guard position is a good result. At higher levels, the same priorities apply, but the small hand-fighting details become much more important.
Back Control Escape Drills for Better Reactions
These drills work best as short, focused rounds. Start with cooperative repetitions, then gradually add resistance. A partner who goes from zero to full choking pressure on the first rep is not helping either person develop good timing.
The Seatbelt Side-Fall Drill
Start seated with your partner behind you using a seatbelt and hooks. The attacker should keep their hands connected but avoid actively finishing the choke. The defender identifies the choking arm, tucks their chin toward it, and falls to the non-choking side.
Once on the mat, the defender keeps both shoulders as flat as possible and uses their hands to monitor the choking arm. Repeat this transition on both sides, even though one side is strategically safer in a given exchange. The point is to learn where your weight needs to go and to stop the common habit of rolling straight toward the choking arm.
A useful coaching cue is: do not pull the attacker off your back with your arms. Put their choking arm under your body with your position. That distinction matters when your training partner is heavier or has a strong upper-body connection.
The Hook Trap and Slide Drill
From the safe-side position, have the attacker keep both hooks in but no active choke attempt. The defender traps the lower hook by pinching it with their leg or controlling it with their hand, depending on the position. Then they slide their hips downward and turn toward the attacker.
This drill exposes a detail many students miss in sparring: clearing the hook is not enough if your shoulders stay pointed away. Your hips may be free while your opponent still has your back. Make the final turn part of every rep, ending chest-to-chest in half guard, side control, or a scramble where the defender is no longer exposed to the back.
In gi training, the attacker can use a collar grip rather than a standard seatbelt. The defender still follows the same escape direction, but must be more disciplined about controlling the gripping hand before trying to rotate. A loose collar grip can become a bow-and-arrow threat quickly if you focus only on the hooks.
The Hand-Fighting Reset Drill
Not every back-control exchange starts with a finished seatbelt. Sometimes your opponent has one arm over the shoulder and is hunting for the second hand. This is where hand fighting can prevent the worst position before it develops.
Start with the attacker behind the defender, one arm over the shoulder, and no second grip. The defender uses both hands to control the attacking wrist, pulls that hand away from the neck, and turns their head and shoulders toward the controlled arm. The attacker keeps trying to connect the seatbelt while the defender works to square up.
Run this as 30-second rounds. The attacker scores by connecting a stable seatbelt or getting under the chin. The defender scores by facing the attacker or breaking away to a neutral seated position. It feels less scripted than a traditional repetition and teaches a valuable competition lesson: early defense is usually cheaper than escaping a fully locked position.
The Turtle-to-Safe-Side Drill
The back is often taken from turtle, especially during a failed single leg, a guard pass scramble, or when someone turns away under pressure. Begin with the defender in a compact turtle while the attacker has one hook or a seatbelt connection.
The defender's task is not to stand up recklessly. First, they keep elbows tight, protect the neck, and avoid extending an arm for the mat where it can be trapped. When the attacker settles into back control, the defender immediately chooses the safe side and begins the escape sequence.
This drill is particularly useful for competitors who give up their back during fast exchanges. It connects the moment of exposure to the escape rather than pretending the round begins only after perfect back control is already established. It also gives newer students a better understanding of why coaches constantly remind them not to turn away while passing or defending a takedown.
The Progressive Positional Round
After isolated reps, use positional sparring to test the escape. Begin with the attacker on the defender's back with a seatbelt and hooks. Give the defender a clear objective: get chest-to-chest, enter a safe guard position, or escape to neutral. Give the attacker a separate objective: submit or maintain back control for 30 seconds.
Start at about 50 percent resistance. Increase only when the defender can maintain neck protection and make deliberate choices. If the attacker is much larger, experienced, or particularly good at the back, adjust the starting grip. For example, begin with a loose seatbelt, one hook, or no grips. Productive drilling needs challenge, not a setup where the same student gets submitted before they can attempt the movement.
Use rounds of one to two minutes, then switch. In a busy academy class, three rounds from each side can reveal patterns fast. Maybe you consistently fall to the correct side but leave your top elbow exposed. Maybe you clear hooks well but keep trying to turn before you have controlled the choking hand. Those are specific problems you can fix in the next round.
Common Errors That Stall the Escape
The biggest error is trying to remove hooks while ignoring the neck. If your partner is attacking the choke, two hands on the hook may feel productive right until their forearm slides under your chin. Protect the immediate submission threat first.
Another mistake is bridging hard without creating an angle. A powerful bridge can move your partner temporarily, but a trained attacker will often ride the motion and tighten their upper-body control. Use your bridge to help put your shoulders on the mat, trap a hook, or create room to turn. Do not treat it as the whole escape.
Be careful with frantic movement, too. Fast hand fighting is useful, but reaching behind your own head or peeling at grips with one hand can expose your neck. In no-gi rounds, this often leads to the rear naked choke. In the gi, it can give your partner the time and space to feed a collar grip deeper.
How to Add These Drills to Regular Training
You do not need to spend an entire class on back escapes every week. Add 10 to 15 minutes after technique work, or use them before open mat rounds. Pick one narrow problem for the day, such as safe-side positioning or hook control, rather than trying to cover every variation at once.
For newer students, keep the first repetitions slow enough to recognize the choking arm and choose a direction. For experienced grapplers, begin from less predictable situations: a failed armbar escape, a transition from mount, or a late scramble where the seatbelt is almost connected. The core escape does not change, but the entry does.
Track what happens in live rolls. If you are regularly caught from the back, ask whether the problem is the escape itself or what happens earlier. You may be exposing your back during guard retention, turning away from mount, or reaching during a takedown scramble. Back control escape drills work best when they become part of that larger chain, not a move you only remember after the choke is already tight.
A dependable back escape is built one controlled repetition at a time. Give your partner a realistic back position, respect the choke, and make each round specific enough that you can carry one useful correction into your next roll.
Shop Our New Releases
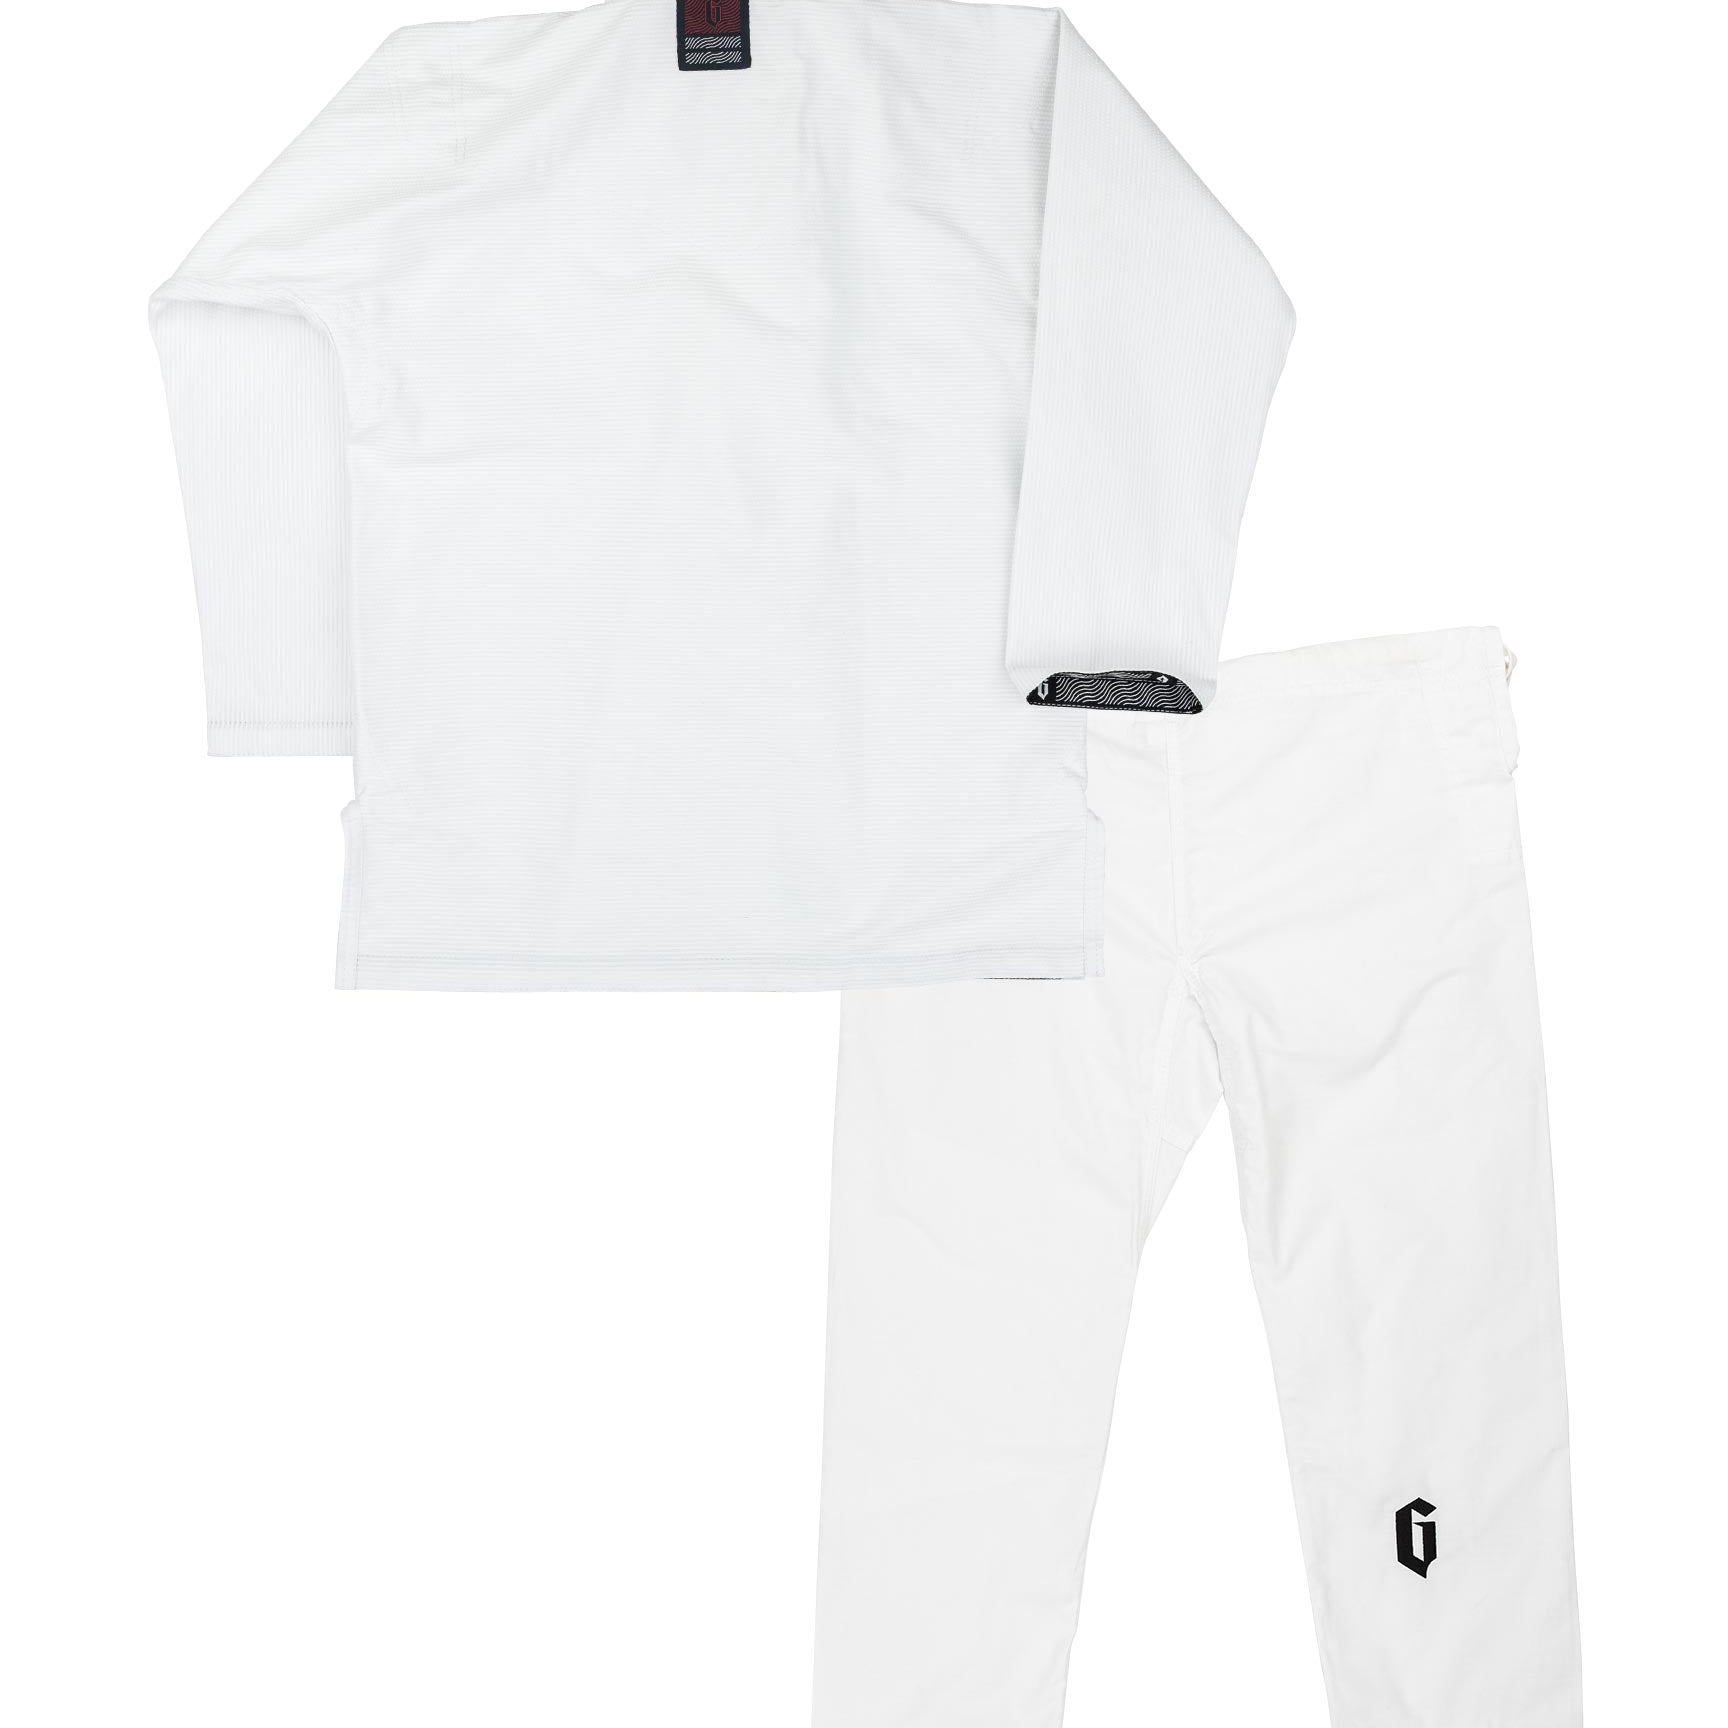






Fast & Free Shipping!










Fast & Free Shipping!

Fast & Free Shipping!






Fast & Free Shipping!




























Fast & Free Shipping!









Fast & Free Shipping!